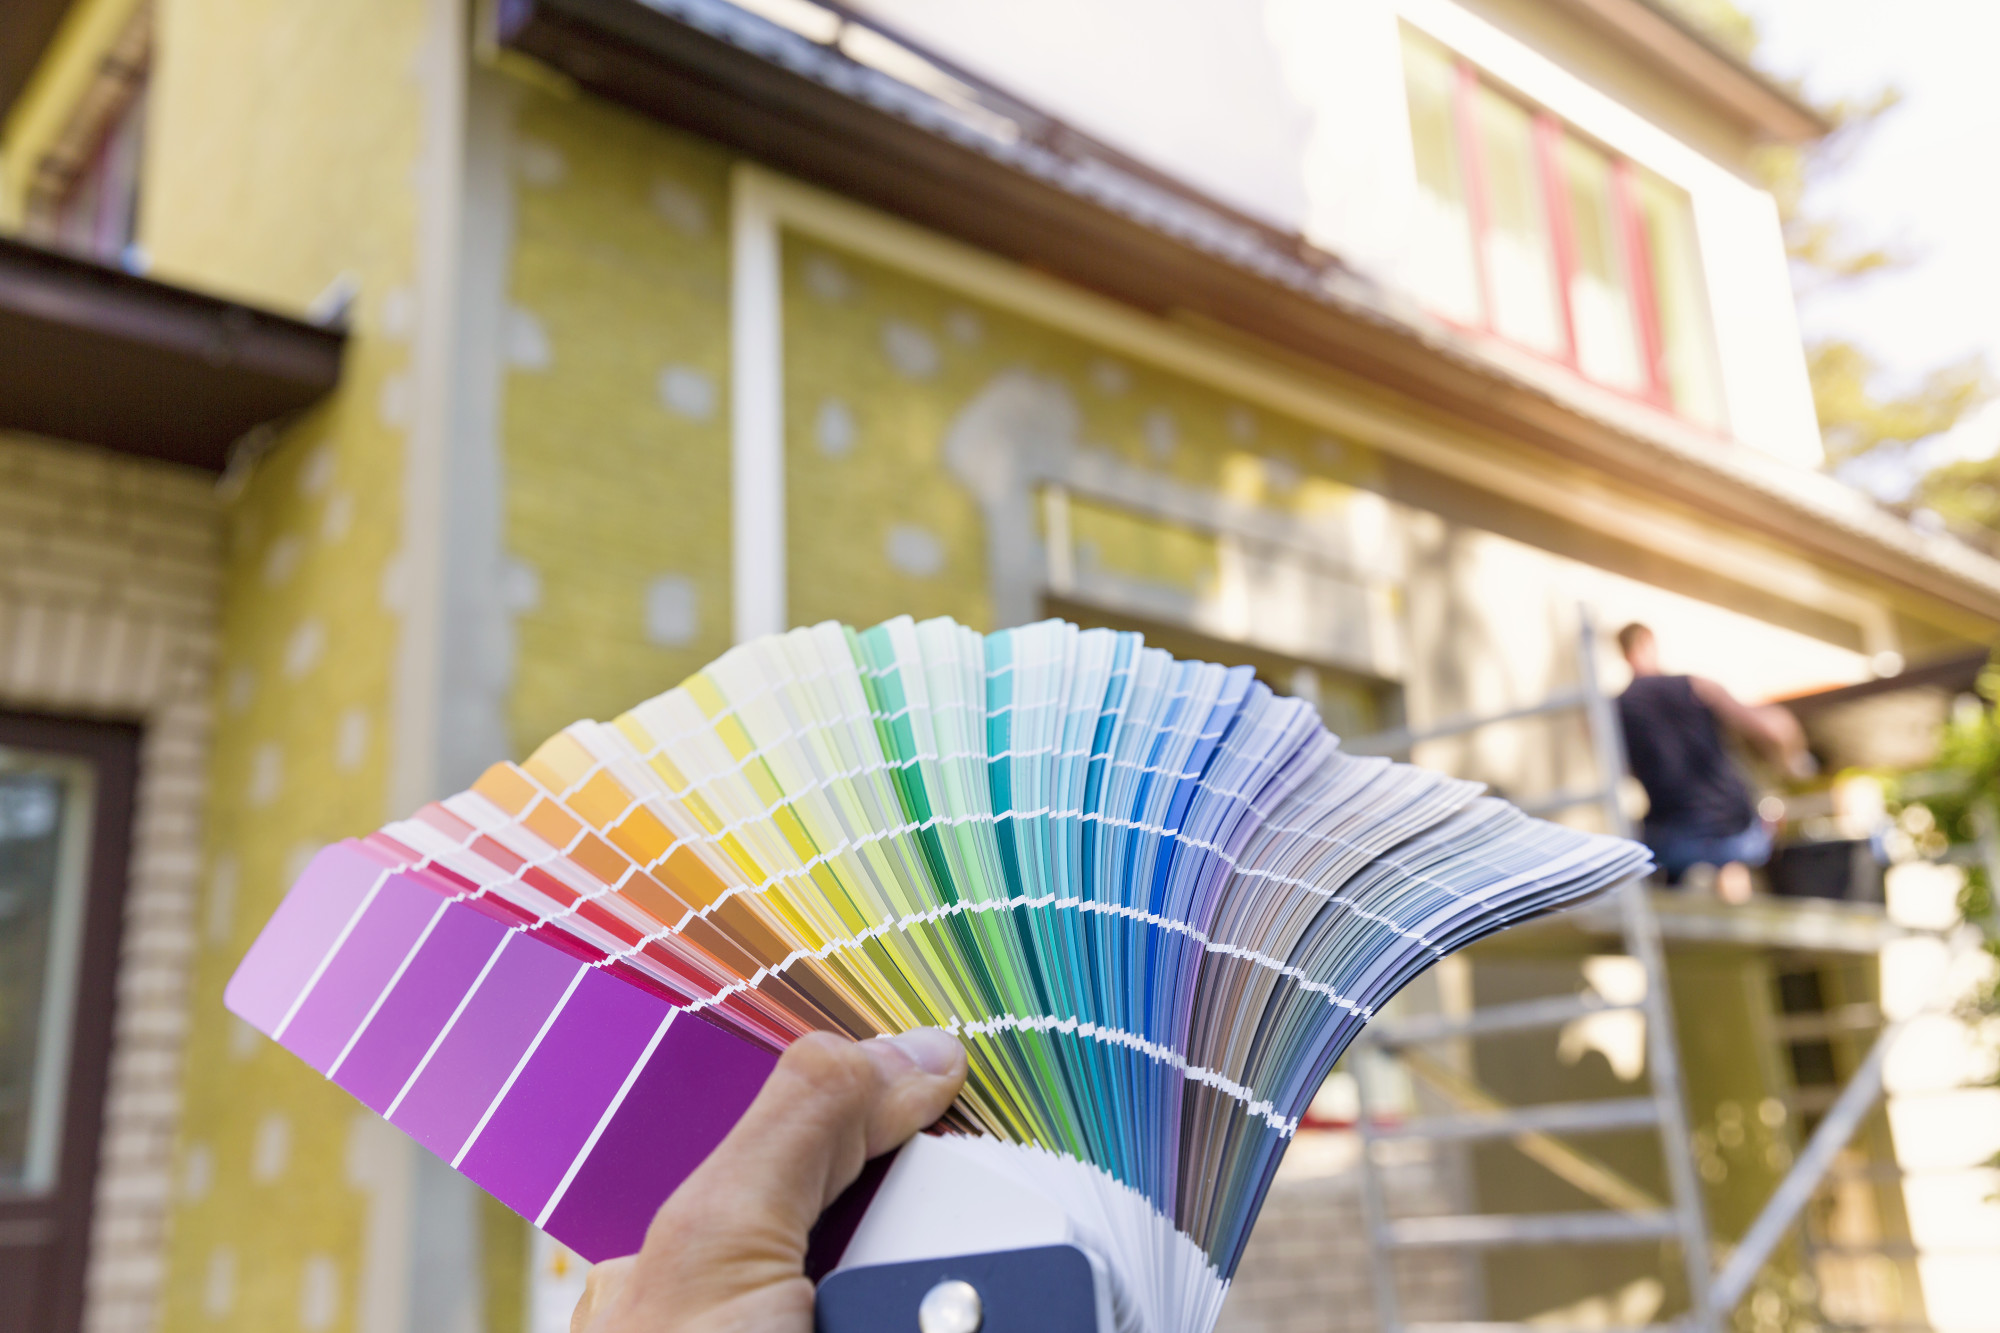
How to Prep Walls for Painting: Pro Step-by-Step Guide
A flawless paint job begins not with the brush, but with the preparation. Skipping the prep work is the fastest way to get a disappointing result, as paint highlights imperfections instead of hiding them. Proper wall preparation is arguably the most crucial step, accounting for 90% of the overall quality and longevity of your new finish. Follow this detailed, step-by-step guide to ensure your walls are perfectly smooth, clean, and ready for a stunning transformation.
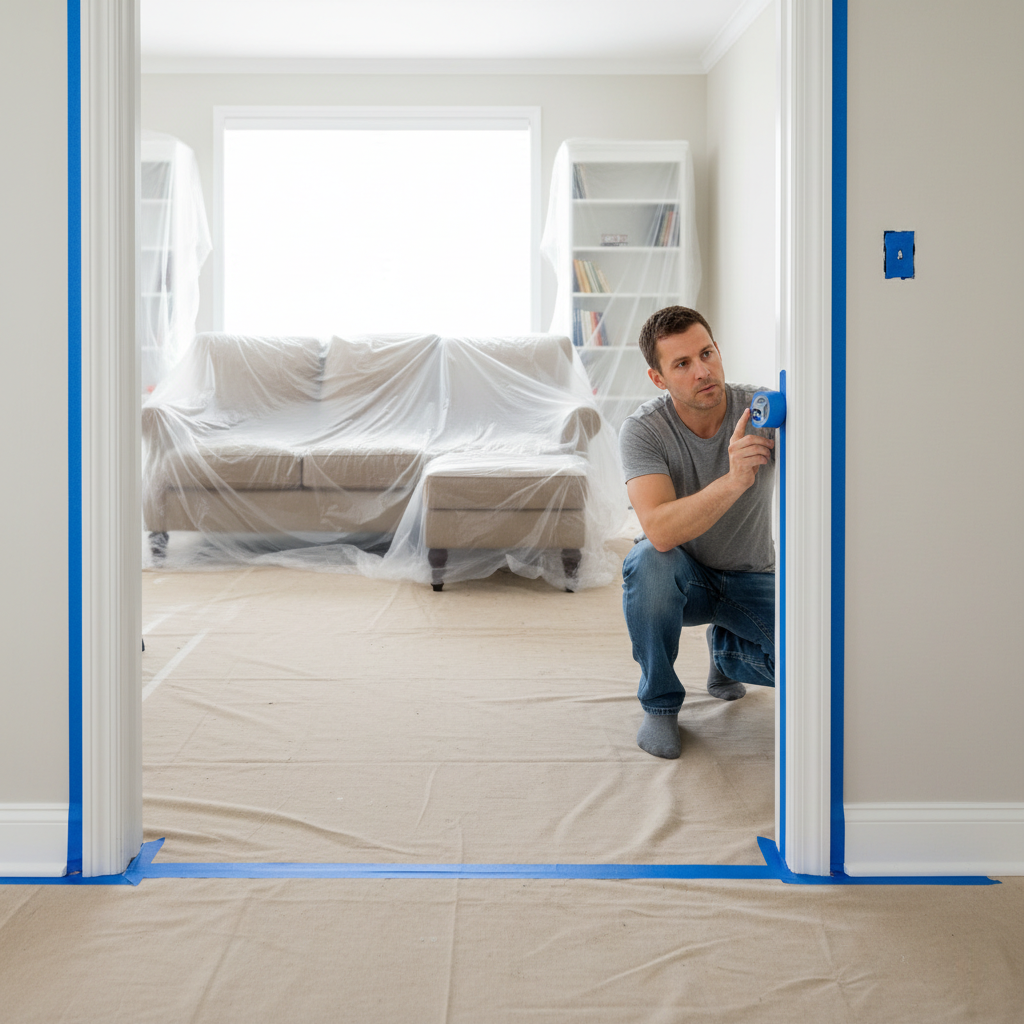
Step 1: Clear the Room and Protect Your Space 🛡️
Before any physical work on the walls begins, the room must be secured. This initial room prep is vital for safety, cleanliness, and efficiency. Don’t rush this step – a few extra minutes now can save hours of cleanup later!
- Remove or Cover Furniture: Move all furniture out of the room. If this is impossible, gather items in the center and cover them thoroughly with heavy-duty plastic sheeting or canvas drop cloths. Tip: Canvas drop cloths are often preferred as they absorb paint spills rather than allowing them to pool and track.
- Remove Wall Fixtures: Take down everything from the walls, including pictures, shelving, curtain rods, and most importantly, switch and outlet covers. (Crucial Safety Tip: Always turn off the power to the room at the breaker box before touching any electrical outlets or switches!) Store screws with their respective covers to avoid mix-ups.
- Protect Edges with Painter’s Tape: Apply high-quality painter’s tape (a low-tack version is great for delicate surfaces) along the trim, baseboards, door frames, windows, and ceiling line. Press the tape down firmly with a putty knife or an old credit card to ensure a tight seal and prevent paint bleed.
- Cover the Floor: Lay down drop cloths to completely cover the floor. Extend them under the baseboards as much as possible.
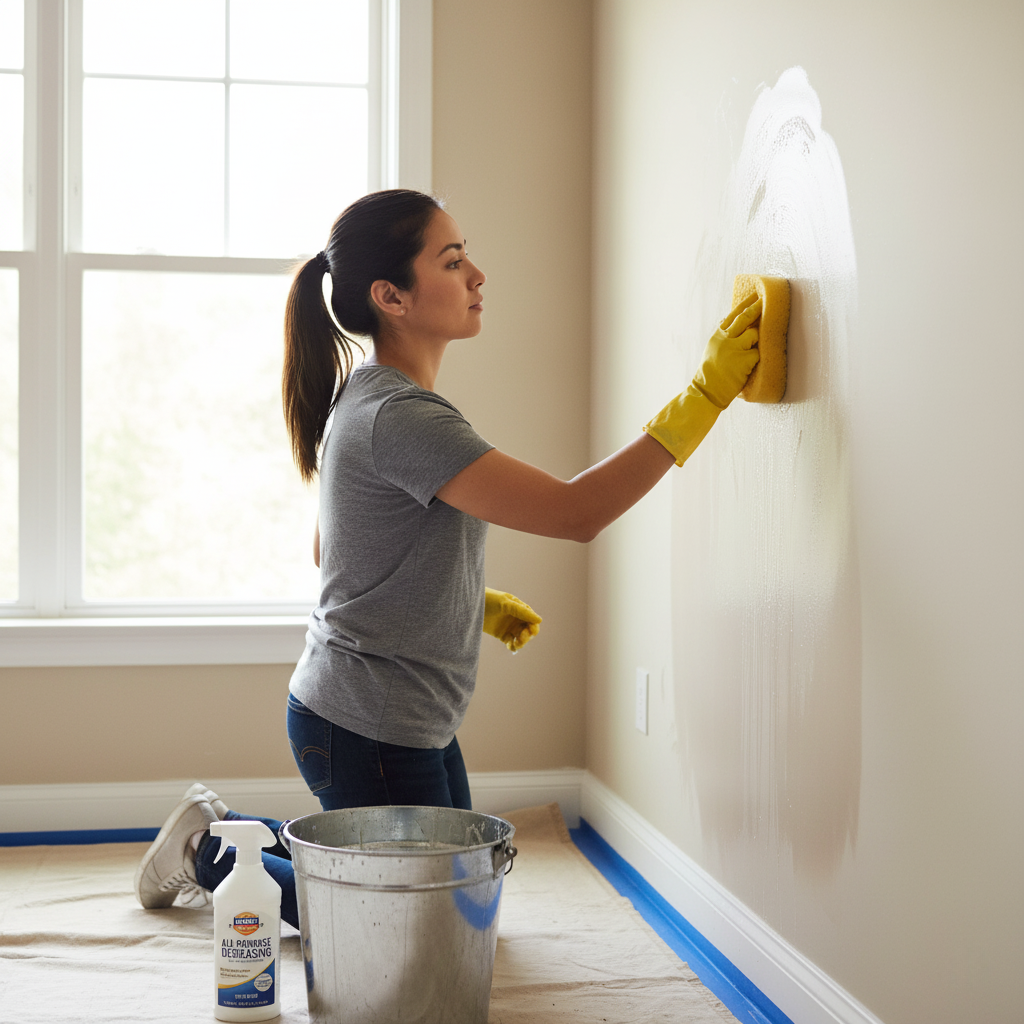
Step 2: Clean the Walls Thoroughly 🧼
Dust, dirt, and grease will prevent the new paint and primer from adhering properly, leading to peeling or an uneven finish. Cleaning your walls is a non-negotiable step, even if they look clean.
- Remove Old Coatings (If Necessary): If your walls have loose, peeling paint or bubbling wallpaper, these must be removed down to a stable surface. Use a scraping tool, heat gun (for stubborn paint), or wallpaper stripper. Pro Tip: For wallpaper, scoring the surface first helps the stripper penetrate better.
- Wash the Walls: Use a mixture of warm water and a mild cleaning solution. TSP (trisodium phosphate) is excellent for heavy grease (e.g., in kitchens) but requires good ventilation and gloves. For general cleaning, a mix of water and dish soap works well. Use a large sponge or cloth, working from the bottom up to avoid streaks.
- Rinse and Dry: Rinse the walls thoroughly with clean water to remove any soap residue. The surface must be completely dry before proceeding to the next steps. Expert Advice: Allow at least 24 hours for drying, especially in humid environments, to prevent moisture-related paint issues.
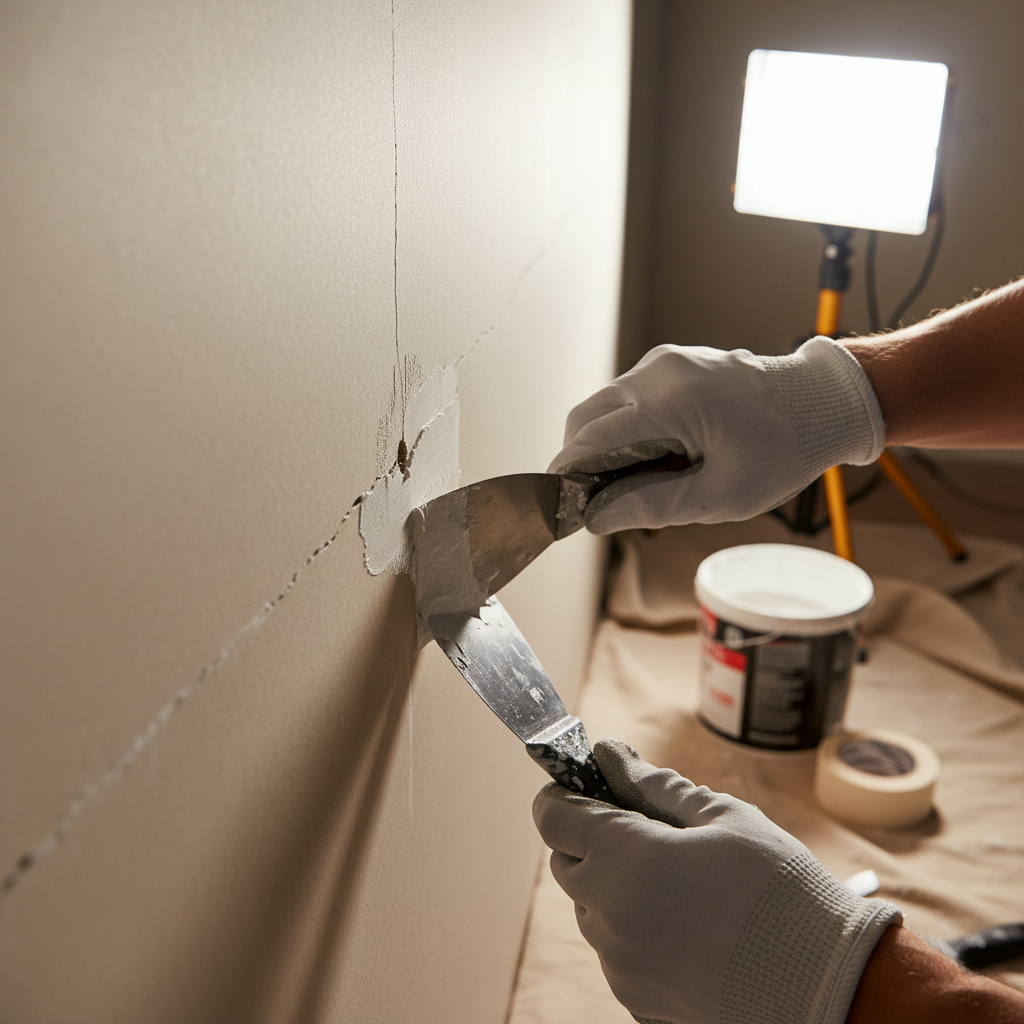
Step 3: Repair Cracks and Holes (Spackling) 🔨
Imperfections must be addressed now; paint won’t magically hide them – in fact, it often makes them more noticeable! This is the essential wall repair stage.
- Inspect Thoroughly: Shine a bright light parallel to the wall to highlight even subtle imperfections like nail holes, dents, and hairline cracks.
- Clean and Prepare Cracks: Use a utility knife or the edge of a putty knife to slightly widen cracks (creating a V-shape helps the filler penetrate better) and vacuum out any loose debris.
- Apply Spackle/Joint Compound: Use a flexible putty knife to firmly push the filler (spackle for small holes, joint compound for larger areas or drywall seams) into holes and cracks. For deeper holes (over 1/4 inch), apply the filler in thin layers, allowing each to dry completely before applying the next, to prevent shrinking and cracking.
- Caulk Seams: Use paintable acrylic caulk to fill any gaps where the wall meets the trim, baseboards, door frames, or ceiling corners. Important: Silicone caulk is usually not paintable; always choose acrylic or latex caulk for paint projects.
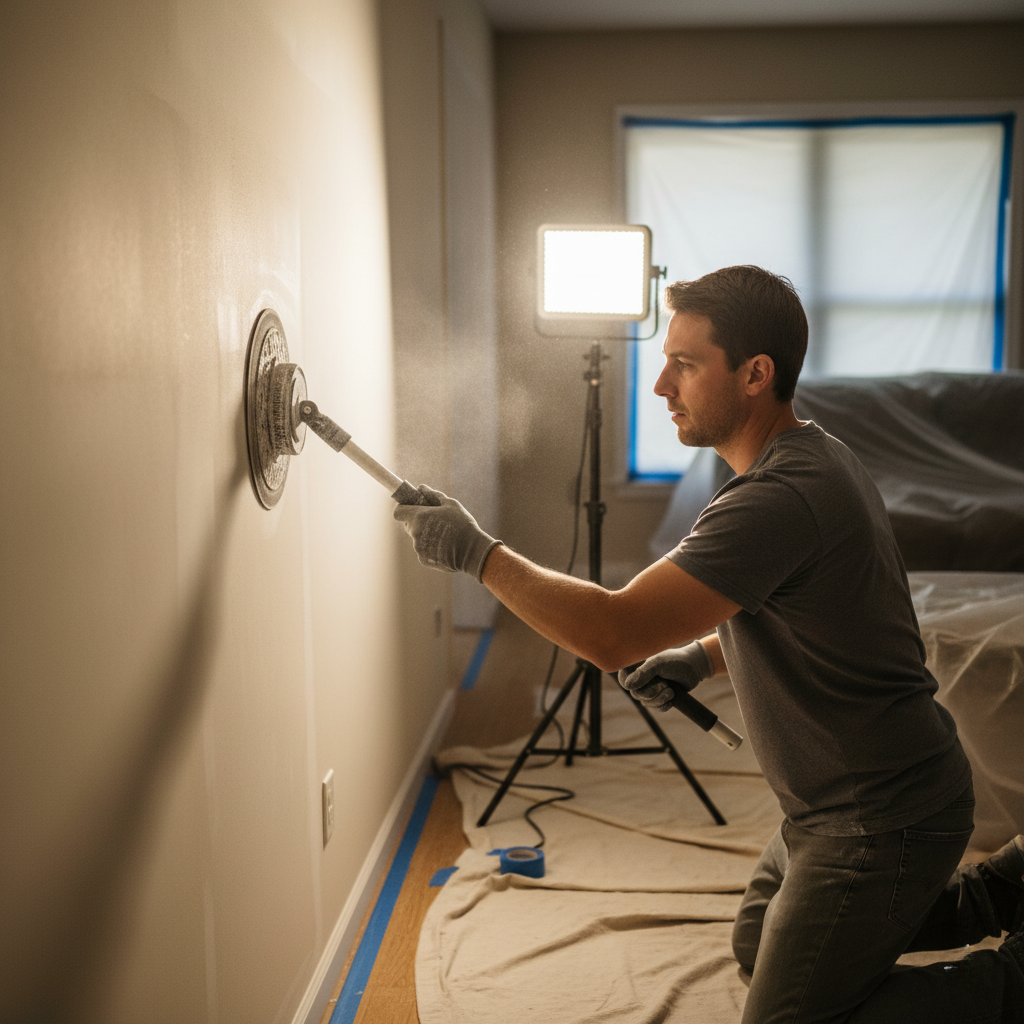
Step 4: Sand and Smooth the Surface 🌪️
This is where you achieve the smooth, seamless finish required for professional results. Don’t underestimate the power of proper sanding walls.
- Sanding Repaired Areas: Once the filler is completely dry (it will change color slightly and harden), use a medium-grit sandpaper (P120-P150) or a sanding sponge on a pole sander to smooth the repaired areas flush with the surrounding wall. Use gentle, circular motions. Tip: Wear a dust mask to protect your lungs!
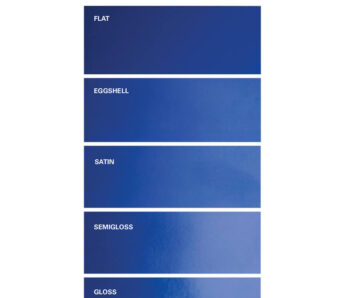
- Scuff Sanding Entire Wall (If Applicable): If you are painting over a semi-gloss or glossy finish, lightly sand the entire wall (scuff sanding) with a fine-grit sandpaper (P180-P220). This creates a “tooth” for the new paint to grip, improving adhesion and preventing chipping. This is often overlooked but critical for durability.
- Final Dust Removal: After sanding, thoroughly vacuum the walls, floor, and any exposed surfaces. Then, wipe the walls down with a clean, damp cloth (or a special tack cloth) to remove all fine dust particles. This dust is invisible but can ruin your paint finish.
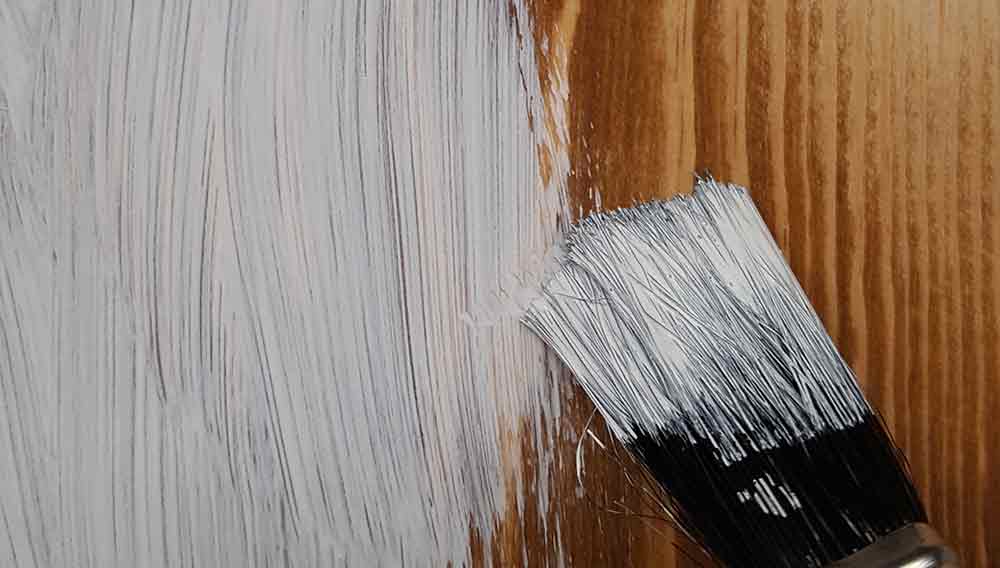
Step 5: Prime the Surface 🎨
Primer is not just an extra step; it’s essential for proper adhesion, consistent color, and a durable finish. Do not skip this step!
- Choose the Right Primer:
- All-purpose primer: Good for general use over previously painted walls.
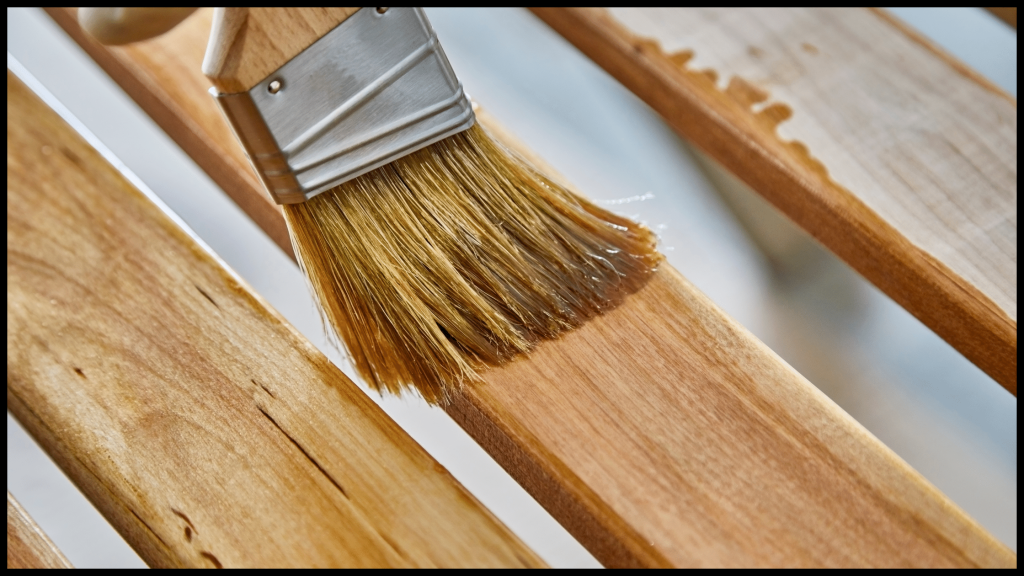
- Sealer primer: Crucial for new drywall, bare wood, or plaster to seal porous surfaces and prevent paint absorption.
- Stain-blocking primer: Essential if you have water stains, smoke damage, or ink marks, as regular paint won’t cover these effectively.
- Bonding primer: Ideal for challenging surfaces like glossy paint, tile, or laminate, providing superior adhesion.
- Application: Apply the primer using a brush for cutting in along edges and corners, and a roller for the main sections of the wall. Ensure the coat is thin, even, and covers the entire surface without drips or heavy spots. Pro Tip: If you’re painting a dark color over a light wall (or vice-versa), a tinted primer (closer to your final paint color) can significantly reduce the number of paint coats needed.
- Drying Time: Allow the primer to dry completely according to the manufacturer’s instructions. This usually takes a few hours, but check the can. Rushing this step can lead to a tacky finish and paint adhesion problems.
Watch the Full Process!
For a visual, step-by-step demonstration of these essential wall preparation techniques, be sure to watch my detailed YouTube video: https://www.youtube.com/watch?v=BOkrqNnRGGI