Can You Paint Pressure-Treated Wood? A Complete Guide
Pressure-treated wood is a popular choice for outdoor structures like decks, fences, and garden furniture because it’s more durable and resistant to rot, insects, and water damage. But when it comes to finishing pressure-treated wood, one common question arises: can you paint it? The short answer is yes, you can, but there are a few important considerations to keep in mind to achieve the best results.
Understanding Pressure-Treated Wood
Pressure-treated wood is infused with chemical preservatives through a vacuum pressure process. This makes the wood more resistant to environmental factors like moisture, mold, and insects. However, these preservatives can make painting or staining a bit tricky, as they create a barrier that hinders paint adhesion.
Additionally, pressure-treated wood has a higher moisture content compared to regular wood, which can affect how well paint or stain sticks. This is why it’s important to let the wood dry out properly before starting your project.
Key Considerations Before You Start
Before diving into painting or staining pressure-treated wood, there are several factors you should consider to avoid issues:
1. Moisture Content
One of the biggest challenges with pressure-treated wood is moisture. Freshly treated wood can hold a lot of water, and if it’s too wet, the paint or stain won’t properly absorb or adhere to the surface. This could lead to peeling, cracking, or uneven coverage.
- Signs of Wet Wood: If water beads up on the surface, the wood is still too wet to paint.
- How Long Should You Wait? Pressure-treated wood can take anywhere from 3 to 6 months to dry completely. While kiln-dried lumber can be painted immediately, pressure-treated wood requires patience.
2. Paint vs. Stain
While you can paint pressure-treated wood, many professionals recommend staining it instead. Here’s why:
- Stain Penetration: Stain soaks deeper into the wood, providing a more natural look while allowing the wood’s texture and grain to show through. It’s easier to apply and typically lasts longer.
- Paint Durability: Paint may peel, crack, or flake over time, especially on wood that is still adjusting to outdoor conditions. Paint forms a surface layer on top of the wood, while stain penetrates into the wood fibers.
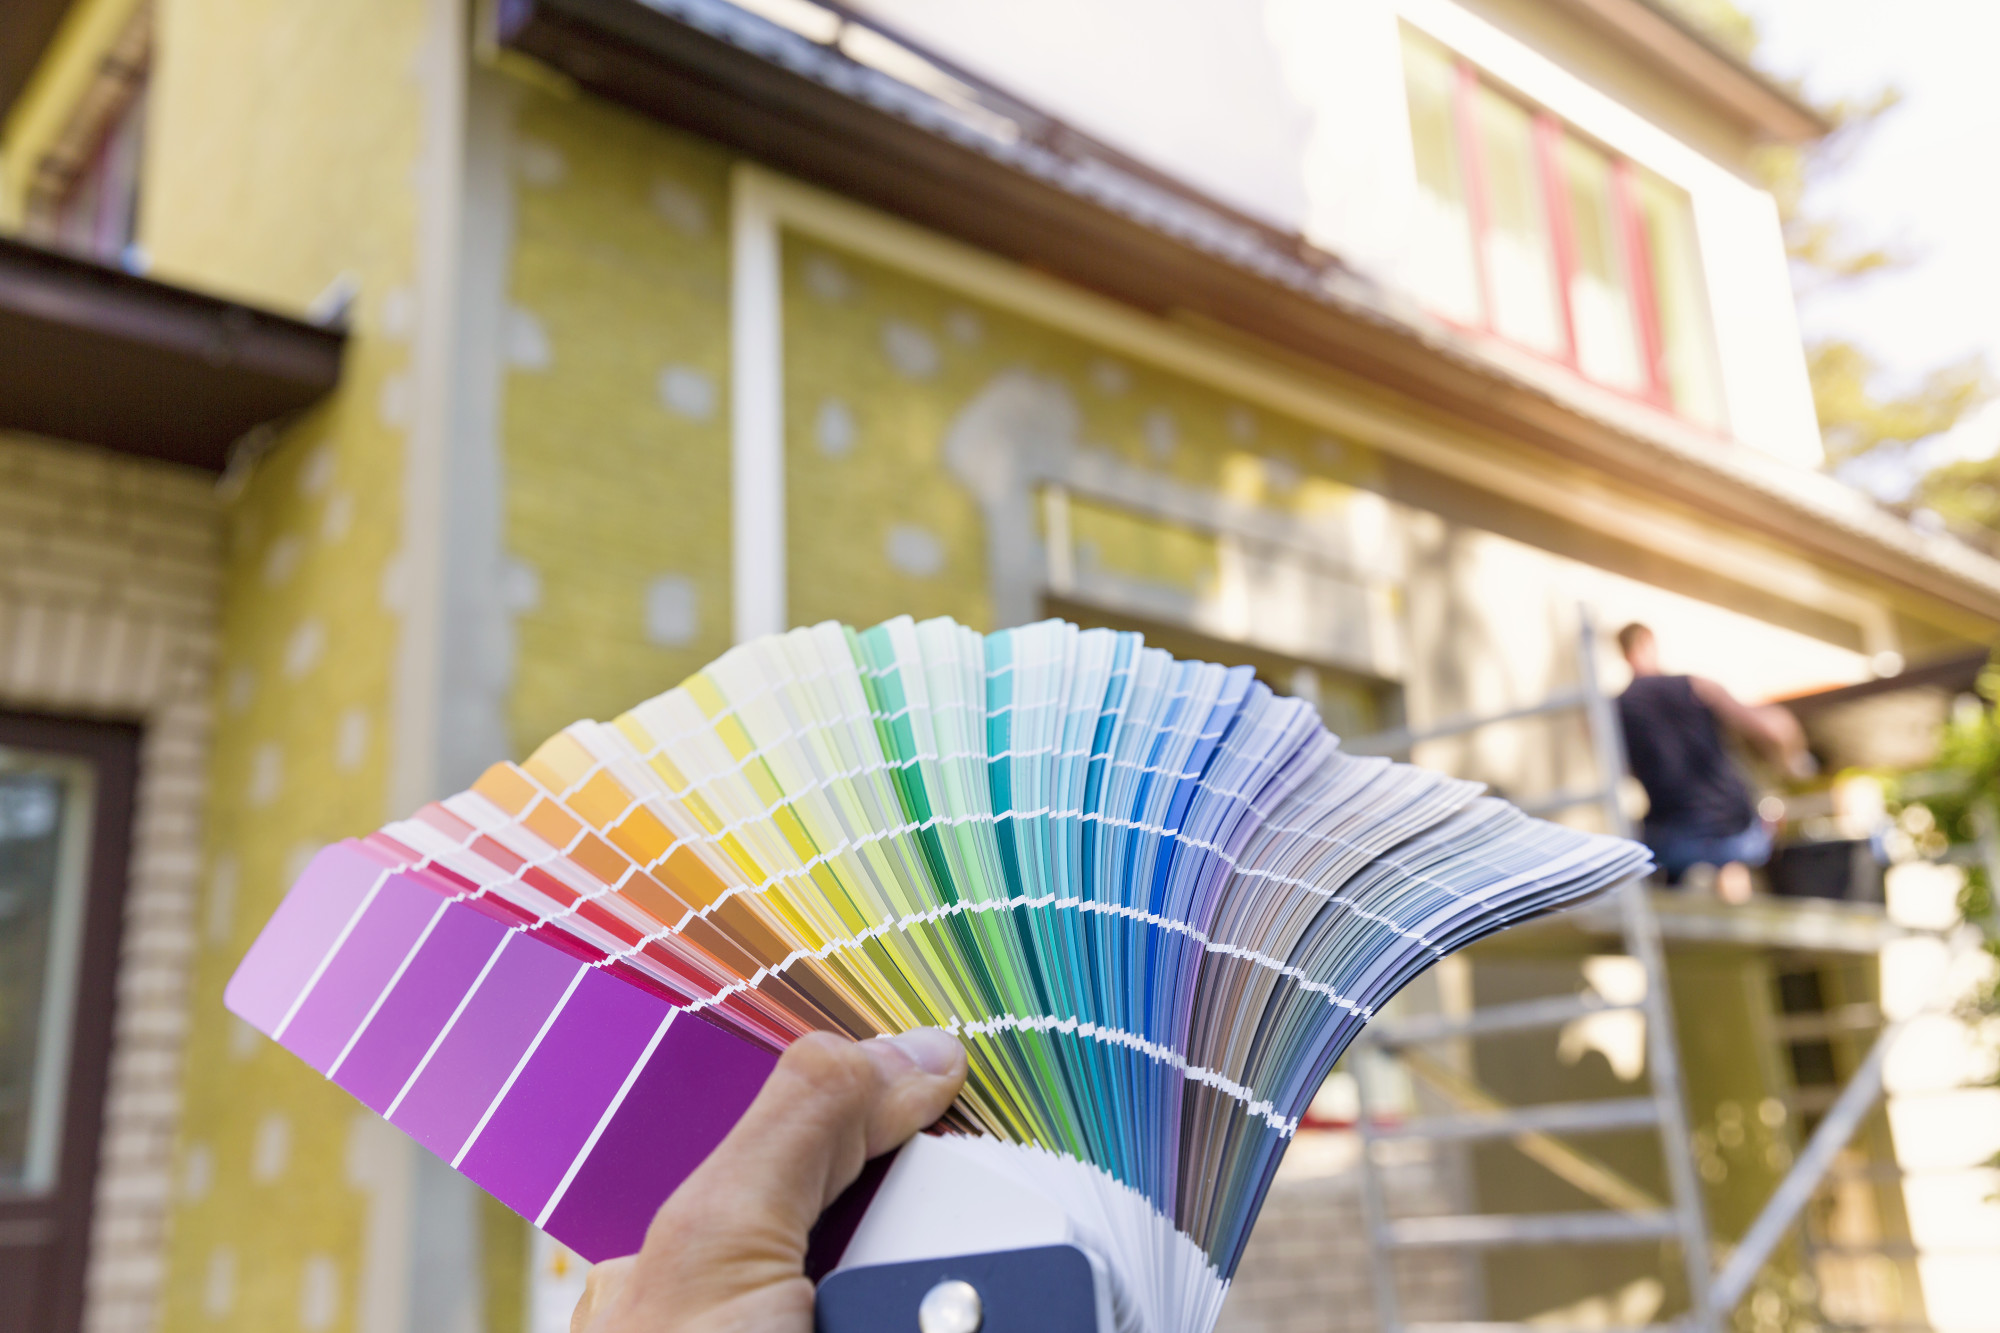
3. Choice of Paint and Primer
When you decide to paint pressure-treated wood, the right products are crucial:
- Priming: A latex primer is necessary to ensure proper adhesion of the paint. It also creates a barrier between the wood and the paint, preventing moisture from seeping in.
- Water-Based Paint: Always use water-based latex paint on pressure-treated wood. Oil-based paints may not bond properly and can lead to peeling or cracking.
How to Paint Pressure-Treated Wood
If you’ve decided to proceed with painting your pressure-treated wood, here’s a step-by-step guide to help you achieve a professional-quality finish:
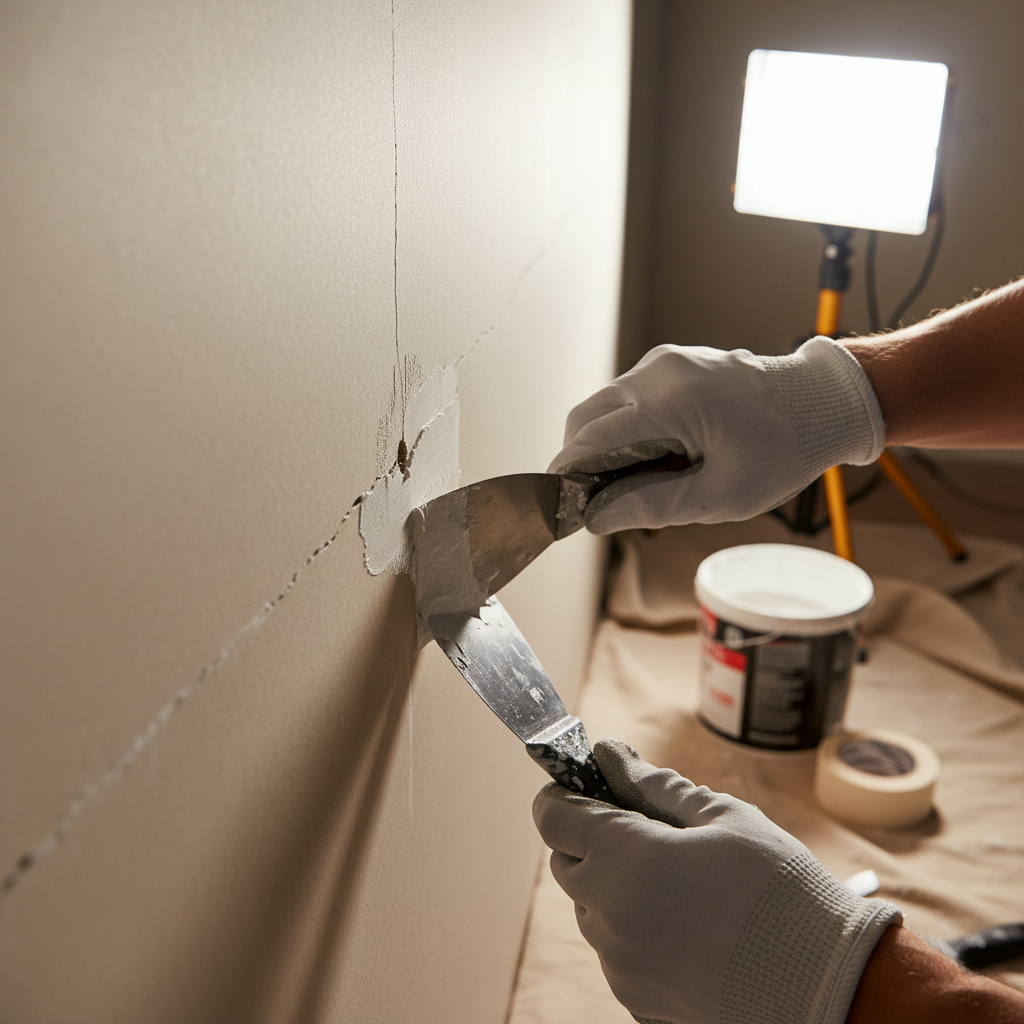
1. Preparation is Key
Proper preparation of the wood is crucial to ensure the paint adheres well and the finish lasts.
- Clean the Wood: First, clean the wood to remove any dirt, mildew, or old coatings. Use a pressure washer or a deck cleaner. Make sure to scrub all the dirt out of the crevices and let the surface dry thoroughly (about 24 hours).
- Sanding (if needed): Sanding the surface can help smooth out rough spots and remove any remnants of the pressure-treatment process. However, avoid excessive sanding as it can damage the wood.
2. Apply Primer
Applying a primer is essential to create a smooth surface for the paint to stick to.
- Choose the Right Primer: Use a latex-based primer specifically designed for outdoor wood surfaces. Make sure to apply a coat of primer evenly over the entire surface, including cracks and edges.
- Curing Time: Allow the primer to dry as per the manufacturer’s instructions, which can typically take anywhere from 2 to 4 hours.
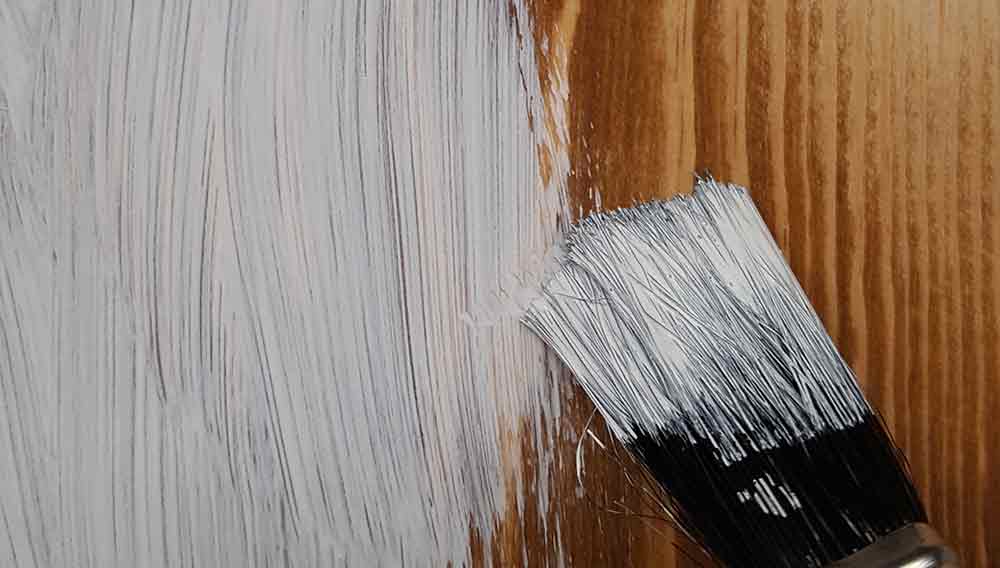
3. Apply Paint
Once the primer has dried, it’s time to apply the paint.
- Use Water-Based Latex Paint: This type of paint adheres better to pressure-treated wood and resists fading, peeling, and cracking.
- Apply Multiple Coats: Two to three coats of paint are typically recommended. Apply each coat in thin, even layers. Allow the paint to dry between coats, following the manufacturer’s recoat time (usually around 4 hours).
- Avoid Over-Painting: Don’t rush the process. Let each coat dry fully to avoid trapping moisture under the paint layer.
4. Finishing Touches
After the final coat of paint is dry, inspect the wood for any spots that need touch-ups. If necessary, apply an additional coat to ensure a uniform finish.
How to Stain Pressure-Treated Wood
Staining is generally the preferred method for finishing pressure-treated wood, as it penetrates deeper into the wood fibers, enhancing the natural look and providing a protective coating.
1. Preparation
As with painting, preparation is critical when staining pressure-treated wood.
- Clean the Surface: Wash the wood with a deck cleaner and let it dry for at least 24 hours before applying any stain. If the wood is particularly dirty or has tough stains, consider using a pressure washer.
- Check the Wood’s Moisture: Similar to painting, if the wood has a high moisture content, the stain won’t properly absorb. Make sure the surface feels dry to the touch before staining.
2. Staining Process
- Choose the Right Stain: Use a high-quality oil-based semi-transparent stain for the best results. Oil-based stains are more durable and less likely to peel or crack over time.
- Apply Evenly: Apply the stain using a paint pad applicator or a brush. Make sure to cover all areas, paying special attention to the cracks and edges.
- Drying Time: Allow the stain to dry for 24 to 48 hours. Be patient; walking on the surface too soon can leave foot marks or uneven areas.
3. Maintenance
Staining generally requires less maintenance than painting, but it’s still a good idea to reapply stain every 2-3 years to maintain its protective qualities.
Common Problems When Painting or Staining Pressure-Treated Wood
Even with the best preparation, several challenges can arise when painting or staining pressure-treated wood:
1. Poor Adhesion
- Cause: If the wood is too wet or the primer is not allowed to cure properly, paint may not adhere well.
- Solution: Ensure the wood is completely dry (water should be absorbed, not beading on the surface), and use the right type of primer and paint.
2. Peeling or Cracking Paint
- Cause: This can occur if moisture is trapped under the paint or if you use the wrong type of paint (oil-based on treated wood).
- Solution: Always use water-based latex paint and allow proper drying time between coats.
3. Staining Issues
- Cause: Stain may not penetrate properly if the wood is too wet, or the wrong stain type is used.
- Solution: Ensure the wood is dry and use the recommended oil-based stain for best results.
4. Uneven Finish
- Cause: An uneven application of primer, paint, or stain can lead to blotchy or streaky surfaces.
- Solution: Apply thin, even layers and follow the recommended drying times between coats.
Conclusion: Is It Worth Doing It Yourself?
While it’s possible to paint or stain pressure-treated wood yourself, the process requires time, patience, and attention to detail. Common issues like poor adhesion, peeling, or uneven finishes are frequent challenges that can arise, especially if you’re new to the process. If you’re unsure about tackling the project yourself or if you want a flawless finish, it may be worth considering hiring professionals. They have the experience and tools to handle the job efficiently, ensuring your deck, fence, or furniture stays looking great for years.
If you decide to do it yourself, follow the steps outlined above carefully, and take your time to ensure a quality, long-lasting result.
Back to Blog