Can You Paint Over Stained Wood? The Ultimate Guide
Yes, you can paint over stained wood, but it requires careful preparation and the right products to ensure a long-lasting, professional-looking finish. Whether you’re working with an old piece of furniture, a door, or a larger wooden surface like a fence, there are several steps you need to follow for successful results.
Before diving into the steps, it’s important to understand the process and why proper preparation is essential. Staining creates a smooth surface, but it can also leave a residue that can interfere with how paint adheres. Painting over stained wood without proper prep can result in peeling, uneven coverage, or other issues down the line.
Step-by-Step Guide to Painting Over Stained Wood
Follow these detailed steps to ensure a high-quality finish when painting over stained wood:
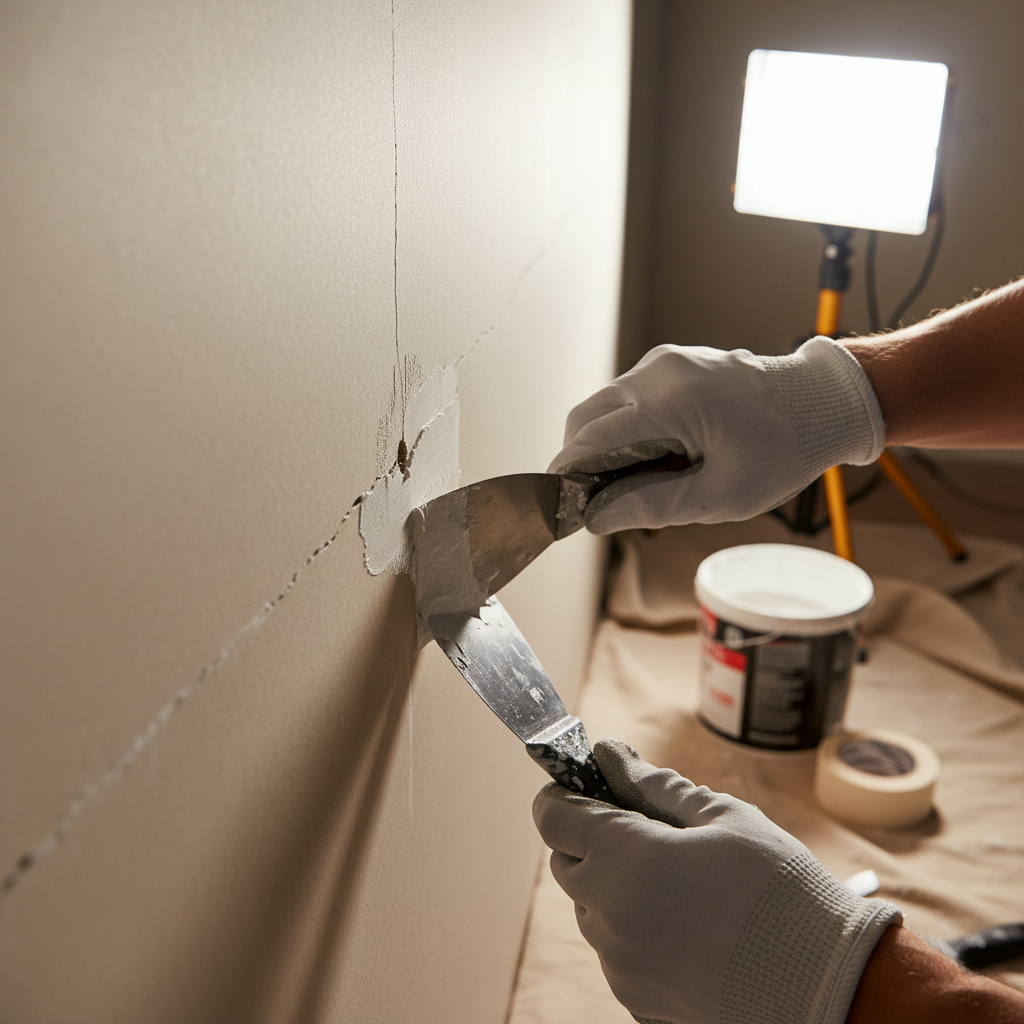
1. Clean the Wood Surface
Start by cleaning the wood with a trisodium phosphate (TSP) cleaner or an equivalent degreaser. This will remove grime, dirt, grease, and other debris that could affect the paint’s adherence.
- Why It’s Important: Cleaning ensures that no contaminants are left on the surface, which could cause the paint to peel or crack later.
- How to Clean: Use a sponge or cloth to scrub the wood, making sure to remove all dirt. Afterward, rinse the surface thoroughly with water and allow it to dry completely.
2. Remove Scratches and Chips
If the stained wood has any scratches, chips, or damage, use a scraper or wire brush to smooth out these imperfections. This ensures that the surface is even for painting.
- Why It’s Important: Imperfections in the surface can lead to an uneven paint finish, especially when painting over stained wood.
- How to Remove Imperfections: Use a fine-grit scraper or wire brush to gently remove damaged areas.
3. Sand the Wood
Once the surface is clean and smooth, use 150-grit sandpaper to lightly sand the wood. Sanding helps create a rougher surface, which gives the paint something to adhere to.
- Why It’s Important: Sanding increases the paint’s ability to stick to the wood. Without it, you might find that the paint chips or peels after application.
- How to Sand: Sand lightly, just enough to remove the glossy finish of the stain. Be sure to sand evenly across the entire surface.
4. Remove Dust
After sanding, the surface will likely be covered with dust and debris. Use a tack cloth or a damp cloth to wipe down the wood and remove the sanding dust.
- Why It’s Important: Dust particles can interfere with the paint’s smooth application, leading to an uneven finish.
- How to Clean: Use a damp cloth or tack cloth to wipe the surface gently. Avoid wetting the wood too much.
5. Apply Stain-Blocking Primer
To ensure the stain doesn’t bleed through the paint, you need to apply a stain-blocking primer. Choose either an oil-based or water-based primer based on the type of stain you’re covering. Oil-based primers work well for tight seals and are ideal for outdoor use, while water-based primers are best for indoor projects due to their low VOC content.
- Why It’s Important: Primer acts as a barrier to prevent the stain from seeping through the new paint, which would ruin your finish.
- How to Apply Primer: Use a roller or brush to apply a thin, even coat of primer over the entire surface. Allow it to dry as per the manufacturer’s instructions (usually around 2-4 hours).
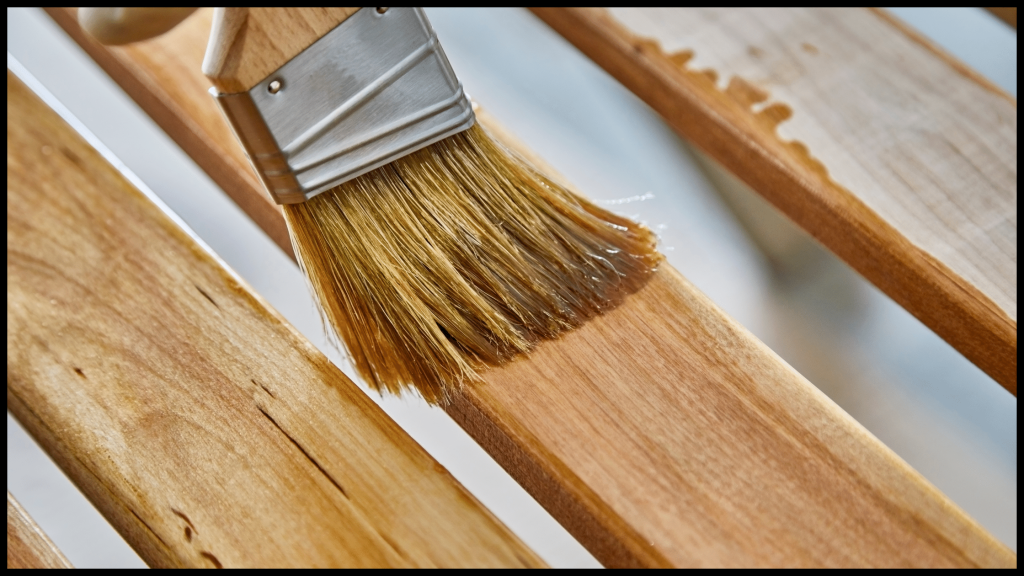
6. Paint the Wood
Once the primer is dry, you can start painting. Choose either latex or oil-based paint depending on the primer you used and the original stain type.
- Why It’s Important: The type of paint you use should match the primer and stain type to ensure a long-lasting finish. Oil-based paints are best over oil-based stains, and latex paints are ideal for water-based stains.
- How to Apply Paint: Apply thin, even coats of paint using a roller or paintbrush. Let each coat dry fully before applying the next one. Typically, two to three coats are needed for the best coverage.
7. Allow Time to Dry
Once the paint has been applied, make sure to allow ample time for the paint to dry before using the surface or placing any décor on it. Check the paint can for the recommended drying time.
- Why It’s Important: Not allowing the paint to dry properly can result in smudging, sticky surfaces, or poor durability.
- Drying Time: The drying time depends on the paint type used, but generally, it ranges from 4 to 8 hours between coats.
Types of Paint to Use Over Stained Wood
Choosing the right paint type is crucial for achieving a long-lasting finish. Below is a comparison of the most common types of paint used over stained wood:
| Paint Type | Description | Benefits | Primer Needed |
| Oil-Based Paint | Best for oil-based stains. Creates a durable, long-lasting finish. | Ideal for high-traffic areas, resistant to wear and tear. | Oil-Based Primer |
| Latex Paint | Water-based paint for use over water-based stains. | Quick-drying, low odor, and emits low levels of VOCs. | Latex Primer |
| Acrylic Paint | A fast-drying, water-based option that is ideal for use over water-based stains. | Resilient to mildew and UV light, low VOCs. | Latex or Water-Based Primer |
| Oil-Based Enamel | Provides a sturdy, opaque finish for trim, doors, and cabinetry. | Resistant to mildew and UV light, durable. | Oil-Based Primer |
| Oil-Based Polyurethane | Used for floors and other high-wear areas, provides a smooth finish. | Superior scratch and scrape resistance. | Oil-Based Primer |
FAQs About Painting Over Stained Wood
1. Can You Paint Over Stained Wood Without Sanding?
No, you should not paint over stained wood without sanding. Sanding helps the paint and primer bond to the wood, providing a longer-lasting finish.
2. Can You Paint Over Stained Wood Without Priming?
No, you should always apply a primer before painting over stained wood. Primer prevents the stain from bleeding through the paint and ensures better adhesion.
3. Can You Paint Over Freshly Stained Wood?
No, you must wait for freshly stained wood to dry completely before painting over it. The curing time for the stain will depend on the type of stain used—refer to the manufacturer’s instructions for specific drying times.
4. Do You Need Polyurethane Before Painting Over Stained Wood?
No, applying polyurethane before painting is not necessary. The paint will adhere well without it, as long as the surface is properly prepped.
5. What Kind of Paint Do You Use Over Stained Wood?
Typically, oil-based paint is used over oil-based stains, and latex or acrylic paint is used over water-based stains.
6. Is It Better to Paint or Stain Old Wood?
Whether to paint or stain old wood depends on the desired finish. Staining highlights the wood’s natural grain, while painting can conceal imperfections and provide more vibrant color.
7. How Many Coats of Primer Should You Use on Stained Wood?
One coat of primer is generally sufficient. However, if the wood is in poor condition or has absorbed the first coat quickly, two coats may be needed.
Professional Help for Your Painting Projects
While painting over stained wood can be a manageable DIY project, larger or more complex tasks may benefit from professional help. The experts at hireapainter can guide you through the process, ensuring a flawless finish. For larger painting projects, contact us for a free estimate, and let our professionals take care of the hard work.
Back to Blog